
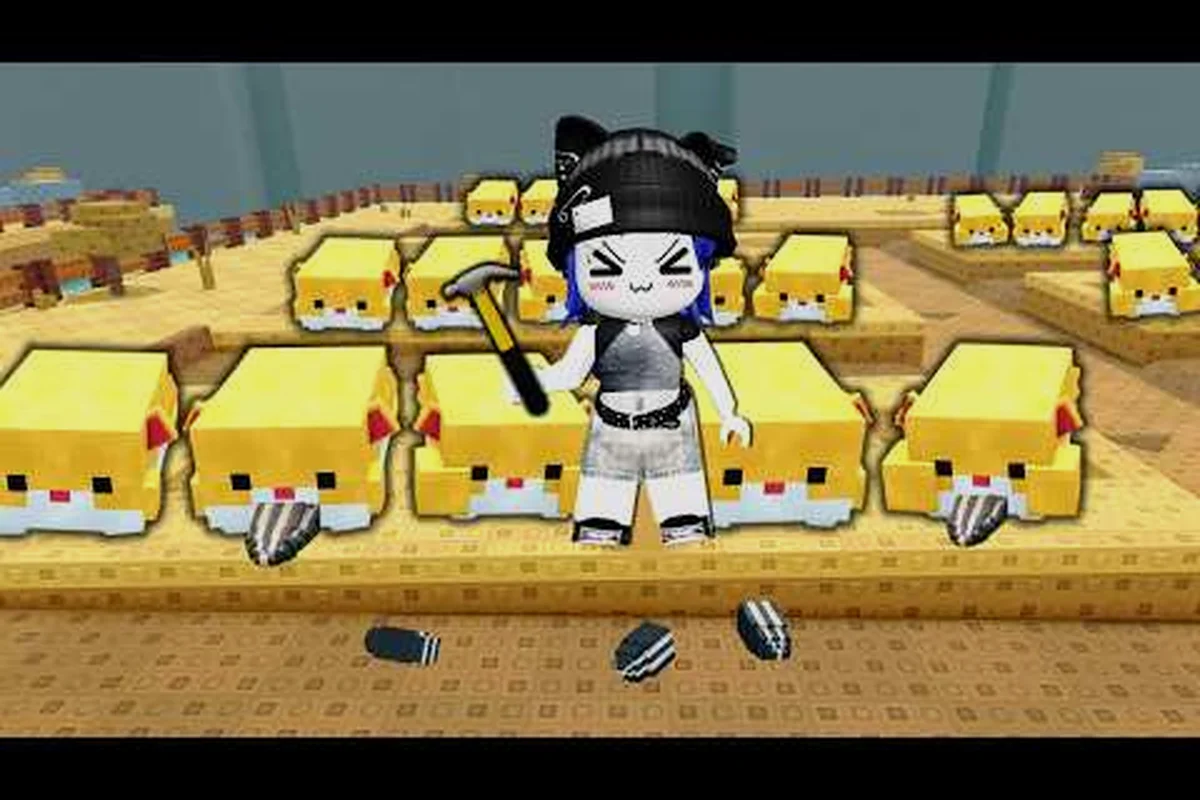
Hamster Village seed farming is the only resource loop that matters in this Roblox merge tycoon, and every Money earn flows back through how fast your hamsters drop Seeds, how quickly you scoop them up, and how cleanly you convert the haul into the village bank. Speed comes from stacking higher-tier hamsters, short collection cadences, and deposit bursts that turn Seeds into Money without leaving drops on the floor. This guide ranks the fastest Seeds-per-minute setups, breaks down the deposit pipeline, and shows the placement tricks that push your Hamster Village on Roblox economy past the early plateau.
Seeds-per-Minute Tier Setup Rankings
In Hamster Village, every hamster you place becomes a passive seed factory, and the factory output decides how fast your bank fills. Seeds-per-minute scales sharply with hamster tier, because the game uses a drop interval that drops as the tier climbs, and a drop amount that rises with tier. Lower-tier hamsters hand you a single seed every few seconds; mid-tier hamsters stack two-to-three seeds per tick; the upper tiers fire four-to-six seed bursts on tight cycles. The result is that swapping five early hamsters for one high-tier hamster usually more than doubles your Seeds-per-minute even though the headcount drops.
Why tier beats headcount
A common beginner mistake is buying every hamster slot the game offers, because more hamsters feels like more production. In practice, every hamster still has to share your walking radius and your collection timer, so doubling the number of low-tier hamsters only nudges Seeds-per-minute up. Replacing those ten low-tier hamsters with five high-tier hamsters, on the other hand, roughly doubles the per-hamster output and frees half your floor space for merge triggers. Merge pairs that match are the only way to climb the tier ladder, so empty floor space is itself a Seeds-per-minute resource.
The gap between low-tier and high-tier production is wide enough that a single top-tier hamster can out-produce an entire bench of starters. Community testing on the Hamster Village gameplay video by AVA GAME shows a small lineup of merged hamsters outpacing a sprawling starter village in the same five-minute window, with the merged setup banking roughly twice the Money through tighter deposit bursts.
Tier-by-tier output comparison
The table below ranks the rough Seeds-per-minute band each hamster tier produces in a clean, well-placed setup, based on community reports and the game's published drop behavior. Numbers are steady-state estimates; a hamster that is mid-merge or stuck behind a wall will fall short of the band.
| Tier Band | Seeds per Drop | Drop Interval (sec) | Approx. Seeds/min | Best Role |
|---|---|---|---|---|
| Tier 1–2 (starter) | 1 | 6–8 | 8–10 | Early Money, merge fodder |
| Tier 3–4 (mid) | 2–3 | 5–6 | 20–30 | Mid-game anchor |
| Tier 5–6 (advanced) | 3–4 | 4–5 | 40–55 | Push toward top builds |
| Tier 7+ (premium) | 4–6 | 3–4 | 70+ | Endgame Seeds-per-minute king |
A useful internal cross-reference for tightening the per-hamster output is the Hamster Village seed drop speed breakdown, which walks through the exact drop interval deltas between adjacent tiers and shows how small interval changes compound across a full minute.
Merge-priority checklist
Merging is the only reliable way to push the tier band upward, and the merge chain rewards patience more than spending. The checklist below keeps your merge pipeline moving without leaking Seeds.
-
Pair only matching hamsters — same tier, same type — so the merge triggers and the resulting hamster jumps one full tier instead of wasting the pair.
-
Hold two of every new hamster before buying a third, so the next pair is always staged and ready.
-
Keep a merge corner — a small floor zone where you route pairs immediately after the second hamster lands, instead of letting them spread.
-
Avoid spending on cosmetic slots until the bench sits at Tier 5 or higher, because every dollar spent on early cosmetic capacity delays the first premium hamster.
The Seed-to-Money Deposit Pipeline
Hamster Village has a single, very short core loop: hamsters drop Seeds, you pick Seeds up off the ground, and you deposit Seeds into the village bank to convert them into Money. There is no auto-deposit and no stored seed pile; any seed that sits on the floor past the collection window is a wasted drop. The pipeline therefore has three measurable stages — drop, collect, deposit — and the slowest stage caps your entire Money-per-minute rate.
Stage-by-stage timing
Most players only watch the drop number on the hamster's tooltip and assume that is the loop's speed. In reality, the collect stage is where beginners lose the most time, because they run between hamsters one at a time instead of routing in loops. The deposit stage, meanwhile, becomes the bottleneck once you reach higher tiers, because the banker's deposit radius only holds a few seeds at a time, so you end up making multiple trips for a single hamster's burst.
| Stage | Action | Common Bottleneck | Fix |
|---|---|---|---|
| Drop | Hamster emits Seeds on a timer | Low-tier hamsters with long intervals | Merge to higher tier |
| Collect | Player walks over each Seed pile | Long walking radius between hamsters | Tighten placement, loop routes |
| Deposit | Seeds become Money at the banker | Multiple trips per burst | Deposit in batches, not single pickups |
Deposit burst tactics
The fastest Seeds-to-Money players do not run to the banker after every single seed. They scoop every seed in a tight radius first, then make one banking run with a full inventory. This works because the banker's deposit animation is the same whether you deposit one seed or a full stack, so batching cuts the animation tax. A useful second habit is to start the banking run from the same corner every time, because the banker's deposit hitbox is centered and stacking inputs from one side avoids the partial-drop bug where seeds spill onto the floor instead of converting. If you want a fuller walkthrough of the collection side, the Hamster Village seed collection guide shows the loop patterns that work best once your bench is large enough to need a route plan rather than a freeform walk.
Placement and Layout Tricks for Faster Seed Production
Placement looks like a cosmetic choice, but in Hamster Village it is one of the two biggest multipliers on your Seeds-per-minute. The other multiplier is hamster tier; everything else — collect cadence, merge staging, deposit run length — flows from where you put the hamsters and where the banker sits. A well-placed village beats a larger but scattered village every time, because the same five hamsters on a tight grid will out-earn ten hamsters spread across the full map.
Tight grids vs. wide spreads
Wide spreads look impressive in screenshots, but they cost you walking time on every collection loop. Tight grids put every hamster inside a small radius so a single lap scoops nearly every drop, which means more banking runs per minute and more Money compounding back into merges. The trade-off is that tight grids need higher-tier hamsters to justify the lost floor space, which is why the layout strategy shifts as you climb the tier ladder.
| Layout Style | Best Tier Band | Collection Speed | Merge Staging | Bank Trip Cost |
|---|---|---|---|---|
| Wide spread | Tier 1–2 | Slow (long walks) | Hard (pairs far apart) | High (cross-map) |
| Tight grid | Tier 3–4 | Fast (short loops) | Easy (pairs adjacent) | Medium (one corner) |
| Corner cluster | Tier 5+ | Very fast (radius scoop) | Very easy (always paired) | Low (banker at edge) |
| Banker-adjacent line | Tier 5+ | Fastest (deposit on the way) | Easy (linear pairs) | Lowest (no extra trip) |
Banker-adjacent line setup
The single highest Seeds-per-minute layout in community testing is the banker-adjacent line, where the banker sits at one end of a short row of premium hamsters. The line should be roughly the length of your walking-radius-plus-one, so every hamster in the row is reachable from the banker without crossing the row. Collection becomes a single A-to-B sweep, and the deposit run is a half-turn away from the last hamster in the line.
Two refinements push this further. First, leave a single empty tile between the banker and the closest hamster so deposit inputs do not clip the hamster's drop animation. Second, keep a staging tile to the right of the last hamster where new pairs wait before merging into the main row; this prevents the row from drifting outward as the bench grows.
If you are still working out the drop timing for the hamsters in your row, the Hamster Village seed mechanics overview covers the cycle behavior that decides whether a tight grid will out-earn a wider one at your current tier.
Fastest Upgrades to Push Seeds-per-Minute
Upgrades in Hamster Village are not cosmetic; they scale the drop interval, the drop amount, and the collection radius, and each of these is a direct multiplier on Seeds-per-minute. The mistake most players make is buying upgrades in the order they appear on the menu rather than in the order they pay back fastest. The fastest-paying upgrades are the ones that cut the slowest stage of your current pipeline, so the priority list shifts as your village grows.
Upgrade priority by stage
When your bottleneck is the drop stage, you want upgrades that shorten the drop interval or raise the drop amount. When your bottleneck is the collect stage, you want upgrades that widen the collection radius so each lap scoops more. When the bottleneck moves to deposit, you want upgrades that speed up the banker animation or raise the deposit batch size. Spending Money on the wrong stage is the most common reason villages feel stuck.
| Pipeline Bottleneck | Highest-Value Upgrade | Effect on Seeds/min | When to Buy |
|---|---|---|---|
| Drop interval | Drop Rate Boost | +15–25% per drop, depends on tier | After first Tier 3+ hamster |
| Drop amount | Seed Yield Upgrade | Adds +1 to each drop | When Tier 4+ bench is full |
| Collection radius | Pickup Range | Wider sweep per lap | When walking time is the slow stage |
| Banker speed | Deposit Batch Size | Fewer trips per burst | When banking animation caps runs |
How to spot the active bottleneck
The easiest diagnostic is a five-minute Money log. If your Seeds-per-minute climbs but your Money-per-minute does not, the bottleneck is the banker. If your Money-per-minute climbs but Seeds-per-minute plateaus, the bottleneck is the drop. If both plateau while you still have floor space, the bottleneck is the collection route, and the fix is layout, not upgrades. This short loop mirrors the diagnostic in the Hamster Village seed strategy guide, which adds tier targets for each bottleneck stage.
A second diagnostic is the seed pile on the floor. If you routinely see seeds sitting on the ground for more than a few seconds, your collection radius is too narrow or your route is too long. The fix is usually the Pickup Range upgrade plus a tighter grid, not a new hamster.
Frequently Asked Questions
What is the fastest hamster setup for seeds per minute in Hamster Village?
The fastest Seeds-per-minute setup is a tight row of Tier 7+ hamsters placed banker-adjacent, with merge pairs staged on a single side tile. This layout cuts walking time, lets you deposit on the way back, and keeps the merge pipeline moving without losing floor space to lower-tier filler.
How do I deposit seeds quickly in Hamster Village?
Walk to the banker with a full inventory, not after every single seed, because the deposit animation time is the same regardless of batch size. Start the banking run from the same corner each time so seed inputs stay inside the banker's hitbox and avoid the partial-drop bug.
Do higher-tier hamsters really drop more seeds than starter hamsters?
Yes. Each tier step shortens the drop interval and raises the drop amount, so a single Tier 7+ hamster can out-produce a bench of Tier 1–2 hamsters in the same floor space. The output gap is large enough that merging up the tier ladder pays back faster than buying more starter slots.
How can I raise my seed production without spending real money?
Spend Money on upgrades that target your active bottleneck, not on cosmetic slots. The Drop Rate Boost and Seed Yield upgrades scale every hamster on your bench, so they pay back across the full village, while early cosmetic capacity only delays your first premium hamster.
Why are my seeds not converting to money fast enough in Hamster Village?
The most common cause is running to the banker after every single seed, which makes the deposit animation the slow stage. Batch your pickups into full-inventory runs, place the banker at the edge of your hamster row, and re-check the bottleneck diagnostic so the next Money buys the right upgrade instead of another low-tier hamster.