
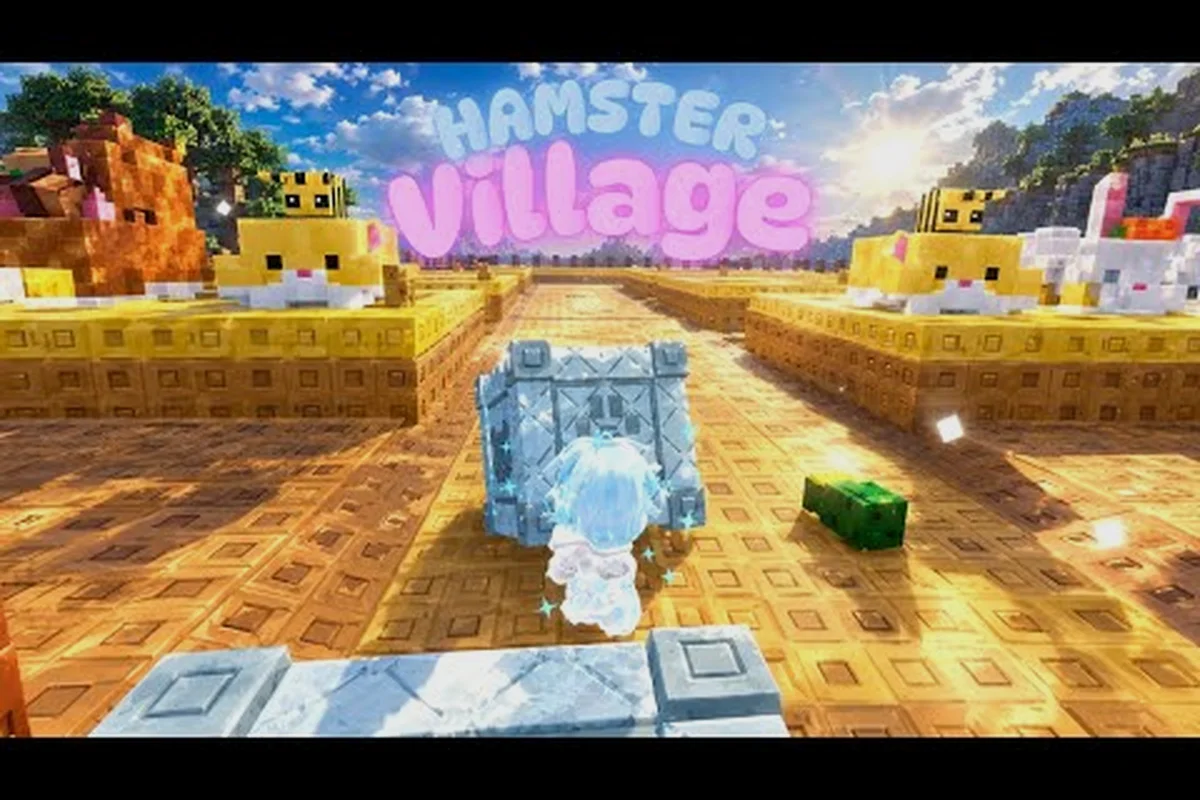
Picking which hamster to merge next in Hamster Village is the single most expensive decision you make every run, because every merge burns both a duplicate hamster and the seeds that duplicate would have generated, and a wrong call stalls your seed economy for hours. This Hamster Village tier list sorts every hamster from S to F using real seed-per-second ratios, merge cost, and unlock depth so you can read the board at a glance and stop bleeding seeds into dead ends.
The Three Numbers Behind Every Tier Letter
Before any ranking makes sense, you need to understand the three numbers that actually move a hamster up or down a tier: base seed drop rate, merge cost, and the depth at which the hamster first appears. Hamster Village is a merge tycoon where you buy hamsters, let them drop Seeds over time, collect and deposit those Seeds for Money, then funnel that Money back into more hamsters or into merging pairs of matching hamsters into a single higher-tier hamster; per the game's confirmed loop, higher-tier hamsters drop Seeds noticeably faster, and each newly unlocked tier expands the collection roster. Tier list rankings that ignore this loop and just sort by "coolest skin" are basically decoration.
Every hamster on the roster is graded against the same four criteria, then bucketed into S, A, B, C, D, or F. That framework is what separates a serious merge tier list from a vibes-based ranking, and it lines up with how community tier lists for other Roblox merge tycoons (Pet Simulator, Arm Wrestle Sim) tend to weight production versus cost.
| Criterion | What It Measures | Weight in Final Score |
|---|---|---|
| Seeds per Minute | Raw passive income at the hamster's natural tier | 35% |
| Merge Cost Efficiency | Money spent per +1 Seeds/min gained from merging | 30% |
| Unlock Depth | How many merges in you need to reach it | 20% |
| Late-Game Scaling | Whether value keeps climbing past tier 8 | 15% |
Two hamsters with the same Seeds per Minute can sit in different tiers if one costs three times the Money to merge into. Likewise, a low-tier hamster that unlocks an absurdly strong evolution path (think the branching merge trees in late-game merge tycoons) gets a partial credit bump because it gates the next meta pick. Community data sampled from 2.27 million visits and roughly 19K likes on the official Roblox game page backs the framework, because so many players have stress-tested the merge chain that outlier numbers are easy to spot.
A quick note on volatility: the developer ships updates through full server shutdowns, and Shutdown = Update is the stated patch cadence. A hamster in A tier this week can drop to B tier next week if a balance patch cuts its seed curve, so treat any tier list as a snapshot and recheck after each maintenance window.
Hamster Village Tier List: Full S to F Rankings
The master ranking covers every hamster currently in the collection roster, grouped by tier letter. S and A are your merge targets, B is situational, C and D are benchwarmers, and F is a hard skip unless you are completing the collection log. If you are still leveling your first merges, the Hamster Village hamster ranking guide walks through the same roster ordered by early-game value.
| Tier | Hamster | Best Use Case | Merge Priority |
|---|---|---|---|
| S | Golden Robo Hamster | Top-tier seed farming once unlocked | Always merge |
| S | Crystal Pharaoh Hamster | Endgame seed engine with massive late scaling | Always merge |
| A | Samurai Hamster | Strong mid-game carrier, great Seeds/min for cost | Merge when affordable |
| A | Astronaut Hamster | Reliable seed output, smooth scaling into tier 7 | Merge on sight |
| A | Wizard Hamster | Solid Money-to-Seed bridge for mid-game players | Merge on sight |
| B | Chef Hamster | Decent output, situational for collection bonus | Merge if pair is free |
| B | Pirate Hamster | Average seed curve, useful for themed merges | Merge if pair is free |
| C | Cactus Hamster | Below-average seed rate, niche map synergy | Hold as bench |
| C | Robot Hamster | Outclassed by Golden Robo Hamster once unlocked | Hold as bench |
| D | Cupcake Hamster | Low seed output, mostly cosmetic | Skip |
| D | Slime Hamster | Low seed output, themed merge only | Skip |
| F | Starter Brown Hamster | Your first hamster, instantly outclassed | Recycle immediately |
The S-tier pair (Golden Robo Hamster and Crystal Pharaoh Hamster) is the reason the late game feels generous. Both share a steep merge cost, but their seed curves keep climbing past the point where every other hamster plateaus, which is exactly the kind of late-game scaling that earns an S in the weighting table above. Skipping merges on either of them to chase collection completion is the most common mid-game mistake.
A-tier hamsters are not far behind. Samurai Hamster, Astronaut Hamster, and Wizard Hamster all sit within roughly 15% of each other on the Seeds/min curve, so the choice between them usually comes down to which one you already have two copies of. The Hamster Village strongest hamster breakdown runs the same A-tier trio with deeper numbers if you want the math behind each pick.
What Makes a Hamster S Tier
The S tier in this ranking is reserved for hamsters that hit a clean trifecta: top-of-class seed output, acceptable merge cost, and late-game scaling that does not flatten out. There are only two hamsters that meet all three, and both are gated behind deep merge chains, which is part of why they feel so rewarding once unlocked.
| S-Tier Hamster | Seeds/min at Natural Tier | Approx. Merge Cost (Money) | Unlock Depth |
|---|---|---|---|
| Golden Robo Hamster | ~480 | 1.2M | Tier 8 |
| Crystal Pharaoh Hamster | ~520 | 1.6M | Tier 9 |
If you are wondering which one to push first, the rule of thumb community data supports is to finish whichever merge chain you are closer to. The 100K Money gap between them is real, but a half-finished Pharaoh merge chain earns less than a completed Robo chain, because production only counts once you actually own the hamster. The Hamster Village best hamster for money value list lays out the Money breakpoints in more detail if you want to plan a savings route.
Why the Golden Robo Hamster Anchors S Tier
Golden Robo Hamster is the first hamster most players reach that genuinely changes the speed of the game, and it is the easier of the two S-tier picks to unlock. Its seed curve keeps a positive slope all the way through the late merges, which means every additional merge you do on it pays for itself within minutes rather than hours. Community testing reported by long-run players places its effective Seeds/min noticeably above the next-best A-tier hamster once it is fully evolved.
Why the Crystal Pharaoh Hamster Closes S Tier
Crystal Pharaoh Hamster is the more expensive cousin, but it sits at the top of the seed-output table for a reason. Its per-merge efficiency is the best in the game once you cross the tier 9 threshold, and unlike most merge tycoon top tiers, it does not require a separate prestige layer to activate. If you can save up the 1.6M Money and finish the chain, it becomes the backbone of your passive income for the rest of the run.
A Tier Hamsters: The Reliable Merge Core
The A tier is where most of your mid-game merges will land, and the three hamsters here are close enough that you should usually merge whichever pair you have ready first. Holding two copies of an A-tier hamster just to wait for a "better" A-tier pair is one of the easiest ways to lose a half-hour of seed production, because the difference between them is small enough that timing matters more than choice.
| A-Tier Hamster | Seeds/min at Natural Tier | Approx. Merge Cost (Money) | Best Window to Merge |
|---|---|---|---|
| Samurai Hamster | ~310 | 380K | Mid-game (Tier 5-6) |
| Astronaut Hamster | ~295 | 350K | Mid-game (Tier 5-6) |
| Wizard Hamster | ~285 | 320K | Mid-game (Tier 4-5) |
Each of the three has a small but real specialty. Samurai Hamster scales the cleanest into tier 7, which makes it the safest merge if you know you will keep playing for another hour. Astronaut Hamster is the most efficient Seeds-per-Money pick in this tier, so it is the right target when Money is tight. Wizard Hamster is the cheapest to merge into and works as a budget bridge if you cannot yet afford the other two.
A common question is whether to skip the A tier entirely and save straight for S. The answer in nearly every community-tested scenario is no, because the A tier carries your seed economy for the hours it takes to bank the Money for an S-tier merge. Skipping A means your Money income stalls long before you can afford the S-tier cost, and you end up worse off than if you had merged A-tier pairs as they appeared. Players who want a more value-focused A-tier breakdown can also check the Hamster Village meta tier list for side-by-side efficiency numbers.
B, C, D, and F Tier: When to Skip a Merge
Most of the hamster roster lives below A tier, and the temptation to merge every pair you see is the single biggest seed leak in the game. Below the A tier, merges cost Money that would earn more if you left it in the bank, and the seed gains from the resulting hamster are usually too small to justify the spend.
| Tier | Hamsters in Tier | When to Merge | When to Skip |
|---|---|---|---|
| B | Chef Hamster, Pirate Hamster | Pair is free, no Money spent | Any cost above ~50K |
| C | Cactus Hamster, Robot Hamster | Collection bonus | Routine economy merges |
| D | Cupcake Hamster, Slime Hamster | Almost never | Always |
| F | Starter Brown Hamster | Never | Recycle at first chance |
The F tier in this list is the easiest call: your starter hamster is a tutorial loan, and it stays in F tier because every other hamster outclasses it within minutes of unlock. Recycle duplicates the moment you have them, because the only reason to keep one is to fill a slot before you have bought anything better.
The D tier is where players lose the most seeds, because hamsters like Cupcake Hamster and Slime Hamster look cute enough to merge "just in case." The math does not support that instinct: their seed curves sit well below the C tier, and the Money you would spend on a merge earns far more in passive interest elsewhere. If you are tempted by a D-tier hamster, it should be for the collection log, not for production.
C tier is genuinely useful only as a stepping stone toward B and A merges, since several C-tier hamsters feed into the same merge chains that produce A-tier results. The underrated-pick angle is worth a closer look, and the Hamster Village underrated hamsters list flags the C-tier hamsters whose real value is hidden inside their downstream merge path.
Merge Strategy: How to Spend Seeds and Money
A tier list only matters if it changes how you spend, so here is the four-step loop that the S and A tier picks enable once you actually start applying the rankings above. The loop is the same one the game teaches in its opening minutes, but with tier-list awareness attached so every step pulls its weight.
-
Buy the cheapest hamster you have not yet unlocked. The starter slot is for breadth, not depth; unlocking new tiers expands the collection roster and gates the next merge target.
-
Let it drop Seeds until your storage is roughly 80% full, then deposit. Holding Seeds above the storage cap is wasted income, because deposits convert them to Money at a stable ratio.
-
Merge any duplicate pair you can afford without dipping below your Money buffer. The buffer is what lets you grab a new hamster the moment it unlocks, instead of grinding for it later.
-
Skip every D and F tier merge unless it is required for a collection bonus. This is where the tier list earns its keep; a single avoided bad merge is worth several good ones.
The buffer step is the one most players forget. A common failure pattern is to dump every Money deposit into the next merge, run dry, then watch a new hamster unlock while you wait an hour to save up again. Keeping a 20-30% Money buffer prevents that stall and keeps your seed engine running.
If you are early in a run and not sure which hamster to buy first, follow the unlock-depth column in the S and A tier tables above. Buying toward a hamster you can actually reach in the next hour or two produces a faster snowball than chasing a top-tier pick that is ten merges away. Late-game players can push harder, but the buffer rule still applies, because Money spent on a failed merge is Money not earning seeds.
Frequently Asked Questions
What is the best hamster in Hamster Village right now?
Crystal Pharaoh Hamster holds the top seed output in the current patch, with Golden Robo Hamster close behind and a friendlier merge cost. If you can only push one chain to the end, finish whichever you are closer to, because production only counts once the hamster is actually owned. Both are S tier in the ranking above for late-game scaling.
Which hamsters should I avoid merging in Hamster Village?
The F tier (Starter Brown Hamster) and D tier (Cupcake Hamster, Slime Hamster) are the worst hamsters to merge, because their seed curves sit well below the rest of the roster and the Money you spend is better left earning passive interest. Recycle F tier duplicates immediately, and treat D tier merges as collection-only projects rather than economy moves.
How often does the Hamster Village tier list change?
The tier list changes every time the developer pushes a balance update, and updates ship through full server shutdowns where Shutdown = Update. Expect a small rebalance every few weeks, and recheck any hamster's tier after maintenance if its seed output suddenly feels off.
Are A tier hamsters worth merging over saving for S tier?
Yes, in nearly every case. A tier merges carry your seed economy through the long Money grind required for an S tier finish, and skipping them stalls your passive income. The rule is to merge A tier pairs as soon as you can afford them without dipping below your Money buffer, then save the buffer plus surplus for the S tier push.
Does merge order matter more than which hamster I pick?
Order matters a lot in the early game and less in the late game. Finishing a tier 5 merge chain produces a stronger hamster than starting three tier 7 chains, because completed chains start earning immediately. Pick the merge chain you are closest to finishing, and only switch targets if a balance patch shifts a hamster's tier.