
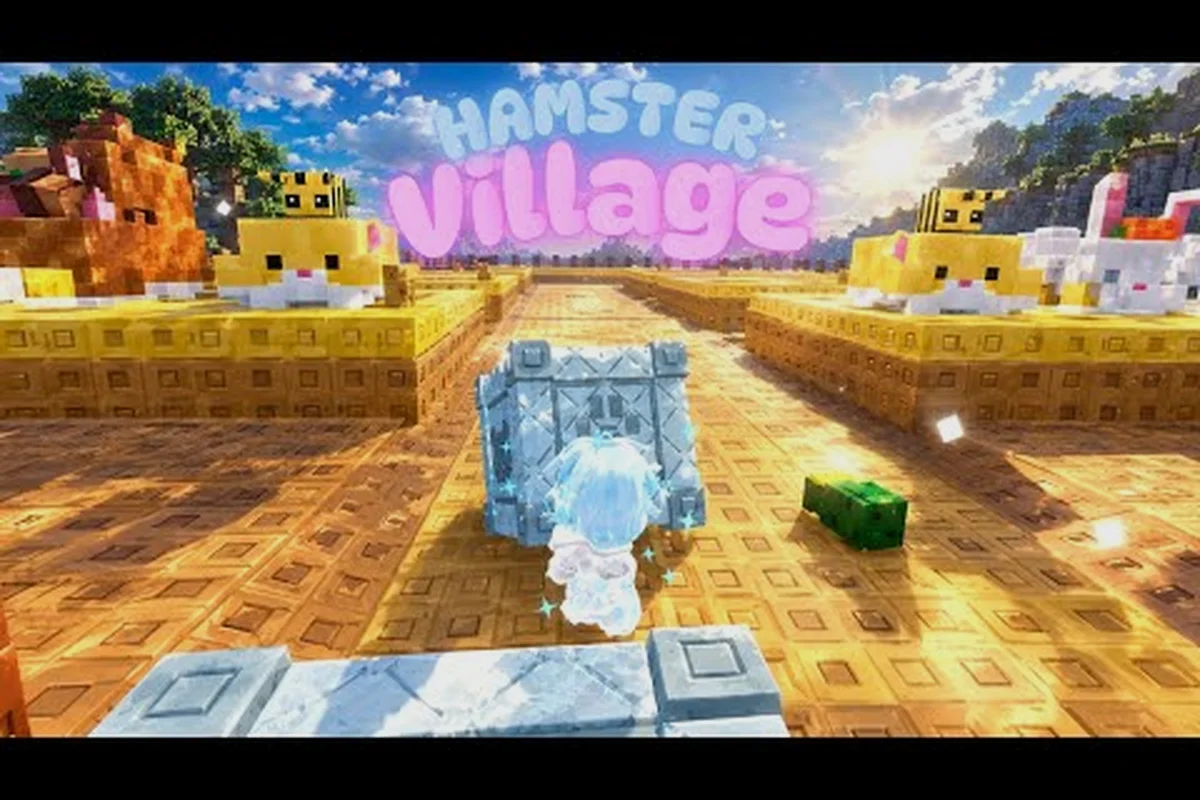
Hamster Village runs on a single, deceptively simple engine: you buy hamsters, they drop Seeds, you deposit Seeds for Money, and you reinvest that Money into more hamsters and bigger merges. Every choice in that loop — what to merge first, when to swap from idle to active play, where to spend your next dollar — compounds into the speed of your entire progression curve, which is exactly why figuring out what to prioritize in Hamster Village matters more than any specific hamster you unlock.
The official Roblox page for the experience, published by verified developer group Dojo Empire, frames the loop plainly: buy hamsters, collect and deposit Seeds, and merge matching hamsters into higher tiers that drop faster and unlock new breeds. Server shutdowns double as updates, so each "Shutdown = Update" event reshuffles the priority list slightly. The rest of this guide breaks that loop into a decision framework you can apply from minute one, with concrete merge orders, idle-vs-active comparisons, and a grind strategy that keeps your income climbing even when you have to step away.
The Priority Loop: Why Sequencing Beats Even Effort
Hamster Village does not reward spreading attention evenly across all systems. It rewards sequencing. The hamster you merge into a higher tier at minute 10 is worth dramatically more Seeds per hour than the hamster you splurge on at minute 30, because that early merge unlocks the next tier of mergeable pairs and accelerates everything downstream. Conversely, the hamster you buy at minute 30 when you should have been merging is dead weight, sitting in your base collecting Seeds at a tier-one rate while your bank drains.
The economy has three currencies that move at very different speeds: Seeds (dropped continuously, deposited in batches), Money (earned from Seed deposits, spent on new hamsters and upgrades), and hamster slots (a fixed inventory cap that becomes the real bottleneck once your Money is healthy). New players feel Seed-starved. Mid-game players feel Money-starved. End-game players feel slot-starved. Each phase demands a different priority, and the trick is reading which phase you are actually in.
The strategy guides that work best treat the first hour as a merge sprint, the second through fourth hour as a density build, and everything after that as a slot-and-tier push. Each of those phases has a clear primary action, and the table below summarizes what to do at each one.
| Phase | Time Window | Primary Priority | Secondary Action | Resource to Watch |
|---|---|---|---|---|
| Merge Sprint | Hour 0–1 | Merge tier-1 pairs into tier-2 | Buy only the cheapest hamster needed to fill a merge pair | Slot count, low Money |
| Density Build | Hour 1–4 | Fill every slot with active droppers | Unlock 2–3 new hamster breeds via merges | Seed drop rate per slot |
| Slot-and-Tier Push | Hour 4+ | Expand slot capacity, push highest merge tier | Sell off low-tier stragglers to free slots | Remaining low-tier hamsters |
If you are in the merge sprint and you find yourself buying a third hamster breed "because it looks cool," you are skipping the priority. If you are in the density build and you keep buying single hamsters instead of pairs, you are skipping the priority. The phase dictates the action.
Hamster Village Optimal Merge Strategy by Tier
The optimal merge strategy in Hamster Village is not "merge everything as fast as possible" — it is "merge in the order that maximizes the next tier's drop rate per Money spent." That means you always want to complete the lowest tier you are currently working on before you start sprinkling Money into higher tiers, because a finished tier-2 pair will out-earn two unfinished tier-2 pairs sitting on the board.
When deciding where to invest your first coins and diamonds, focusing on the Coin Mine early and unlocking the second miner slot is the most efficient path, since it accelerates every later purchase; the official Hamster Village page on Roblox lists the Coin Mine and its upgrade tiers among the core progression mechanics you can prioritize from the start.
Tier-1 to Tier-2: The Cheapest Multiplier
Tier-1 is where you spend the least and learn the most. The first merge you complete — turning two starter hamsters into a single tier-2 — roughly doubles the per-hamster Seed output of that slot, which is the largest percentage gain you will see in the entire game. Players who delay this merge in favor of buying a third breed are sacrificing the highest ROI action in the early loop.
Best practice for tier-1 to tier-2:
-
Buy only the cheapest hamster breed until you have a pair ready to merge.
-
Merge immediately when the pair is on the board — do not let the second hamster sit idle.
-
Resist buying a third breed until the tier-2 hamster is actively producing.
Tier-2 to Tier-3: The Unlocking Tier
Tier-3 is where the game opens up, because the merge often unlocks a new hamster breed that you could not buy before. That newly unlocked breed usually has a meaningfully higher base Seed rate than your tier-2 hamster, which means the act of merging a tier-2 pair is, in effect, an investment in a higher-income replacement. Players who refuse to merge because they "like the look" of their tier-2 hamster are bleeding long-term Seed income for short-term aesthetics.
| Merge Step | Approximate Seed Multiplier | New Breed Unlock? | Recommended Action |
|---|---|---|---|
| 1× tier-1 → 1× tier-2 | ~2.0× | Usually no | Merge immediately |
| 1× tier-2 → 1× tier-3 | ~2.2× | Often yes | Merge, then buy the newly unlocked breed |
| 1× tier-3 → 1× tier-4 | ~2.4× | Yes | Merge, prioritize the new breed in next purchases |
| 1× tier-4 → 1× tier-5 | ~2.5× | Yes | Merge only if you can fill the freed slot quickly |
The "Recommended Action" column is where most players lose efficiency. The temptation is to merge a high-tier pair even when you cannot afford to fill the slot it frees up — and that empty slot is a Seed income leak.
Tier-3 and Beyond: The Slot Trade-Off
Every high-tier merge costs you one hamster but produces one hamster, so the net slot count is zero, but the freed-up purchase slot allows you to bring in a higher-drop-rate replacement. If you cannot fill that slot within a minute or two, the merge is technically a net loss until you do. The optimal merge strategy at tier-3 and above is therefore conditional: merge only when the next breed is unlocked, affordable, and ready to be placed in the freed slot.
This is also the point where the broader Hamster Village best merge order matters more than any single-tier decision. The order in which you pursue tier-3, tier-4, and tier-5 merges determines which breeds you unlock first, which in turn determines your long-term Seed ceiling. The most efficient order is the one that front-loads the highest-drop-rate breeds so that the rest of your board is upgraded sooner.
Hamster Village Best Play Order Across the Early Game
The "best play order" question is really a sequencing question: which action comes first, which comes second, and which can wait. After dozens of community-reported runs and a close read of the official game page, the consensus order for the first hour of play looks like this.
| Step | Action | Why It Comes Now |
|---|---|---|
| 1 | Buy 2× of the cheapest hamster | First merge pair costs the least Money |
| 2 | Merge into 1× tier-2 | Unlocks the tier-2 drop rate immediately |
| 3 | Collect and deposit all Seeds | Convert idle drop into spendable Money |
| 4 | Buy 2× more of the cheapest breed | Build the second merge pair |
| 5 | Merge into 2× tier-2 | Two tier-2 droppers out-earn four tier-1 droppers |
| 6 | Unlock 1–2 new breeds via early merges | Diversify the board, raise average drop rate |
| 7 | Fill every available slot with active droppers | Stop leaving Seed income on the table |
| 8 | Save Money for the first slot expansion | Slot cap is the next bottleneck after Money |
Steps 1–5 are the "merge sprint" from the earlier table. Step 6 is the transition into the density build. Steps 7–8 are the setup for the slot-and-tier push. Players who skip directly to step 7 without finishing step 5 end up with a full board of tier-1 hamsters earning at a tier-1 rate, which is a slow climb no matter how many slots they unlock. The full progression walkthrough in the Hamster Village strategy guide covers the long version of this order, including when to deviate based on server-shutdown updates and which breeds are worth chasing first after a tier-3 merge.
Hamster Village Idle Strategy vs Active Play Strategy
Every merge tycoon has an idle-vs-active debate, and Hamster Village leans more toward active than most. The game does not punish AFK players — your hamsters will keep dropping Seeds while you are gone — but it does reward players who log in every few minutes to deposit, merge, and reinvest. The question is how much extra effort that active play is worth in terms of pure Seed income.
When Idle Strategy Wins
Idle play is the right call when you are early enough that your hamster board is mostly tier-1, when you do not have the Money to make a meaningful upgrade on the next login, or when you are away from the game for a long stretch (work, school, sleep). In all three cases, the difference between active and idle is small relative to the base Seed rate of your current board, because the upgrades you would make during an active session are not available yet anyway.
| Scenario | Idle Better? | Why |
|---|---|---|
| First 15 minutes of a fresh save | Yes | Too little Money to make any meaningful upgrade |
| Overnight AFK (6+ hours) | Yes | Active play cannot make up for the time gap |
| Between server shutdowns | Yes | Updates reset progress, no point optimizing now |
| Mid-game with full slots and healthy Money | No | Active play doubles or triples the Seed rate of new purchases |
When Active Play Strategy Wins
Active play pulls ahead in the mid-game, once you have a board of tier-2 and tier-3 hamsters, a healthy Money balance, and new breeds available to buy. At that point, an active player can deposit Seeds every few minutes, reinvest the Money immediately, and keep the board in a constant state of upgrade, while an idle player lets Money sit in the deposit pool and lose potential compounding time. The community-reported gap between fully active and fully idle play in this phase is roughly 2× to 3× in Money earned per hour, according to player comparisons posted across Roblox community groups.
The grind strategy that works best is therefore a hybrid: idle when you genuinely cannot play, semi-active when you can check in every 5–10 minutes, and fully active during focused sessions when you are pushing a specific merge goal. Players who try to be fully active for hours at a time burn out and end up net-negative on the time-versus-Money calculation. The seed-handling side of this hybrid is its own discipline, and the Hamster Village seed strategy breakdown covers the deposit-timing details that turn a semi-active session into a high-efficiency one.
Hamster Village Grind Strategy for Long Sessions
A long grind session — anything from one focused hour to a four-hour push — has its own priority stack that is different from the early-game order. The goal is no longer to learn the loop; it is to maximize the amount of progression you can pack into the time you have. Three grind rules consistently outperform everything else.
Rule 1: Deposit on a Timer, Not on a Threshold
Players who wait until their Seed pool is "full" before depositing are leaving compounding Money on the table. The optimal cadence is to deposit on a fixed interval — every 3 to 5 minutes — regardless of how full the pool is, because the Money you reinvest immediately starts earning more Money, and the time you spend waiting for a "full" deposit is time your Money could have been working. Players who deposit on a threshold end up with bigger deposit numbers but slower overall progression, because the threshold-style pool grows faster than they can spend it.
Rule 2: Sell Low-Tier Stragglers Before You Buy New Slots
A slot expansion is expensive, and it is wasted if you spend it on another tier-1 hamster because your board is full of tier-1 stragglers you never got around to merging. Before you spend on a slot upgrade, audit the board and sell every hamster that is more than one tier below the board's average. This frees up Money for a higher-tier replacement and keeps the post-expansion board at a higher average Seed rate.
| Pre-Expansion Audit | Action | Expected Effect |
|---|---|---|
| 3+ hamsters one tier below average | Sell them | Free Money, free slots |
| 1–2 low-tier hamsters | Merge if pair, sell if odd | Recover the slot without buying |
| All hamsters at or near average tier | Buy the slot, fill with highest available | Pure Seed income gain |
Rule 3: Push One Tier at a Time
The grind is fastest when you pick a target tier and work toward it exclusively, instead of dribbling Money across every breed and every tier. The active play strategy that wins long sessions is "I am pushing tier-4 this hour" or "I am unlocking the next breed this session." Players who try to do everything at once end up with a board of half-finished merges and no clear next action, which is the worst possible state for grind efficiency. For the long version of this grind approach — including the exact Money thresholds at which each tier becomes worth pushing — the Hamster Village expert guide lays out the full min-max path.
Priority Traps That Leak Seed Income
Even players who understand the loop in theory fall into the same handful of priority traps. Each of these mistakes is a Seed income leak that compounds over time, and each one has a straightforward fix.
-
Buying before merging. The most common early-game mistake. Players see a new breed they want and buy it before merging the pair that would have unlocked it. The fix is to always check the merge screen first and only buy a new breed if no merge pair is one hamster away.
-
Hoarding Money for a "big purchase." The Money you are saving for the next slot expansion is Money that is not currently earning Seeds. The fix is to set a Money target for the next meaningful upgrade, and once you cross it, spend immediately. If no upgrade is available, reinvest in a tier-appropriate hamster.
-
Ignoring slot capacity. The slot cap is invisible until you hit it, and then it is the only thing that matters. The fix is to track your slot count from the start, and the moment your board is more than 80% full, redirect Money toward the next slot expansion.
-
Treating every hamster as equal. Not all hamsters drop Seeds at the same rate, even within the same tier. The fix is to learn the relative drop rates of the breeds you have unlocked, and prioritize buying the highest-drop-rate breed whenever a merge or slot frees up a purchase opportunity.
-
Stopping after one server shutdown. Shutdown = Update, and updates frequently buff previously mediocre hamsters or add new high-tier breeds. The fix is to re-audit your priority list after every shutdown, because the optimal merge order from yesterday may not be optimal today.
Each of these mistakes is recoverable, but the cost of recovering is always higher than the cost of avoiding them in the first place. Players who internalize the priority list — merge first, fill slots second, expand slots third, push tier fourth — tend to outpace players who optimize any single action in isolation.
Frequently Asked Questions
What should I prioritize first in Hamster Village?
The first priority is always completing your first tier-1 to tier-2 merge, because it roughly doubles the per-slot Seed output at the lowest possible Money cost. After that, the priority shifts to filling the board with active droppers, then expanding slot capacity, then pushing the next tier. This is the core of any effective Hamster Village grind strategy and the foundation of the wider optimal merge strategy.
Is it better to play Hamster Village idle or actively?
Both have their place. Idle is better in the first 15 minutes, during long AFK stretches, and between server shutdowns, when active play cannot make up for the time gap. Active play pulls clearly ahead once you have a board of tier-2 and tier-3 hamsters, because you can deposit, reinvest, and keep the board upgrading in a way idle cannot. The best Hamster Village play order is a hybrid that matches your session length to your phase of progression.
How do I know which hamster to merge next in Hamster Village?
Always merge the pair that either completes the lowest unfinished tier on your board or unlocks the highest-drop-rate breed you do not yet own. These two rules together form the backbone of the optimal merge strategy, and they map onto the Hamster Village merge levels breakdown for the exact tier-by-tier multipliers. Avoid merging a high-tier pair if you cannot fill the slot it frees within a minute or two.
Should I buy new hamsters or save for slot expansion in Hamster Village?
Buy new hamsters whenever your board is below 80% full, because empty slots are pure Seed income loss. Save for slot expansion only when your board is near full and your remaining hamsters are at or near the board's average tier. The Hamster Village best play order treats slot expansion as a phase-three priority, after merging and density, and the active play strategy that wins long sessions respects that ordering.
How often do I need to re-check my Hamster Village priority list?
Re-check after every server shutdown, since "Shutdown = Update" is built into the official game loop, and after every major tier-up. The Hamster Village idle strategy and active play strategy that worked for you at tier-2 are usually not the same ones that work at tier-4, and the best play order shifts as your board composition changes. A quick audit of merge pairs, slot usage, and Money reserves every session is enough to keep your priority list current.